")
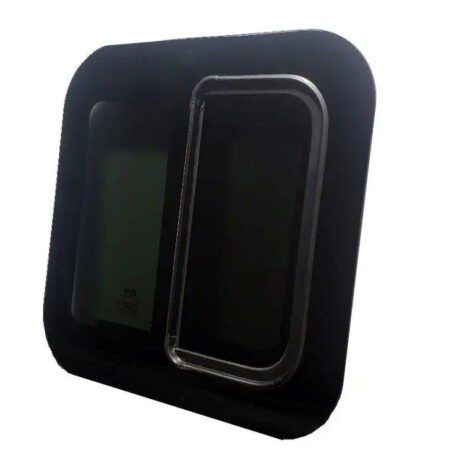
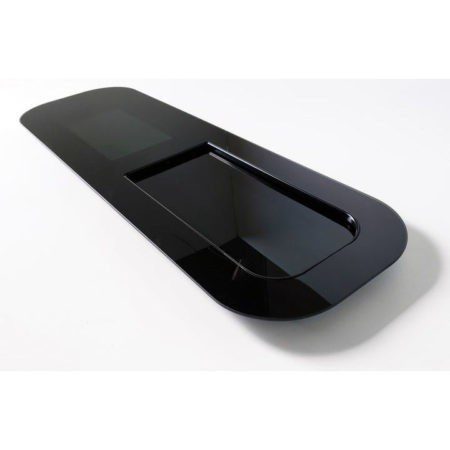
Add ventilation to your camper van with the VWD DTBUNK012-INT Camper Van Bunk Sliding Window (16-3/4″ x 16-3/4″) from Nomadic Supply Company which features a removable screen and measures 16-3/4″ x 16-3/4″ tall.
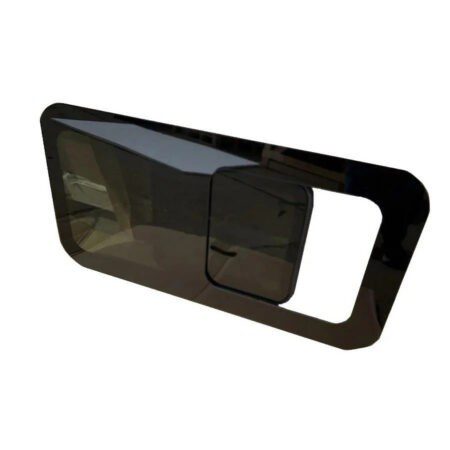
The VWD DTBUNK012-INT Camper Van Bunk Sliding Window gives a slightly larger option to the Van Bunk Window genre. The modern design has a frame-less exterior to match with OEM Glass of todays modern all glass style windows.
The VWD DTBUNK012-INT Camper Van Bunk Sliding Window swing latch secures the window in the closed position for security and the interior all-tight mesh aluminum screen will keep bugs or small debris out.
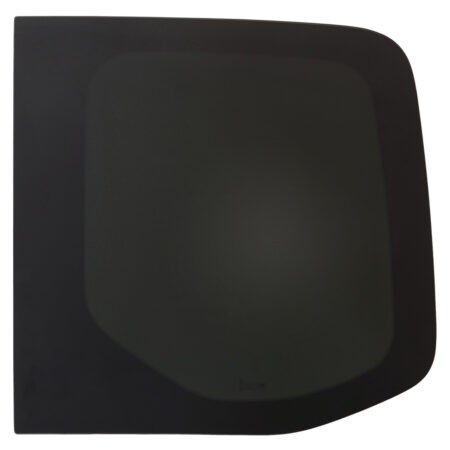
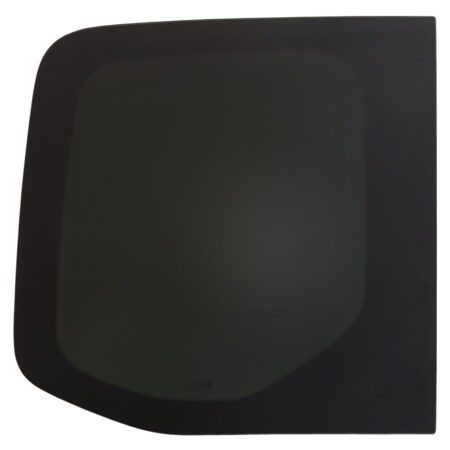
The VWD DTBUNK012-INT glass is a 15% solar privacy tint safety glass for added privacy and UV protection.
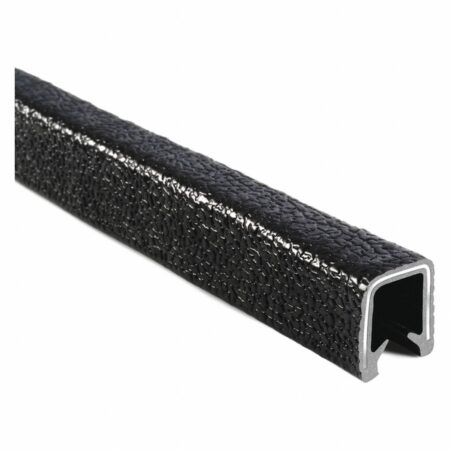
The Screen is inset into a rubber channel and has an acrylic frame for long-lasting use with an ultra-quiet design.
To match with the rest of the VWD line of windows, the bunk windows are designed as a front side opening. If your build works out better for a rear side opening simply order an opposite side. (Example you want a driver-side bunk window with an opening on the backside. Order a Driver Side bunk window and simply install it on the driver side of your van.)
VWD DTBUNK012-INT Camper Van Bunk Sliding Window Specifications:
- Manufacturer: Van Windows Direct
- Manufacturer Country: Turkey
- Manufacturer Warranty: 1 Year
- Glass Color = Solar Privacy Glass
- Glass UV Rating = 15%
- Universal Fit
- Driver Side Front Opening / Passenger Side Rear Opening
- Color = Solar Privacy Glass
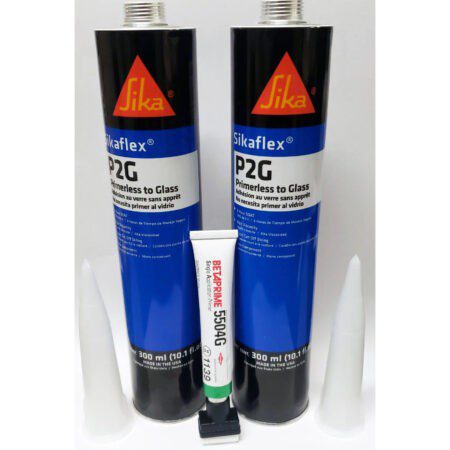
- Installation Type = Urethane Bonded
- Mfg Country = Turkey
- Mfg Warranty = 1 Year
- Measurements
- Bunk Window Outer Dimensions: 16-3/4″ x 16-3/4″
- Bunk Window Cut-Out Dimensions: 14-1/4″W x 14-1/2″
- Vent Opening Size 5-1/2″ x 11-1/2″
How do I install this window?
You will need to create a template to cut your window hole. Easiest way is to use the cardboard box the window came in. Quick way is to make a rectangle pattern first about the cut hole measurement. Approx.: 27.5″ x 7.50″. Once you have your rectangle cut out. Lay on the inside of the bunk window making sure the frame and Triangular drainages on bottom are within the template as that will need to go through the hole in the wall.
If you are comfortable with the size of template, you can hand draw or use protractor for rounded corners.
Always double check to ensure you have everything correct.
When drawing template to the van if there are two people great. One can hold while the other draws it out. If your installing solo, once you know the spot you will be placing the window you can screw the cardboard into the side wall to hold in place, then draw your pattern.
Use a black marker for most vans. White-Out or White marker on Black vans.
Once your template is drawn onto the van, dry fit your window in place before cutting anything just to double check that you are happy with the placement. Once confirmed, time to cut.
Cut out your hole with your choice of tool reciprocating saw, sheers, disc, etc…
Once the Hole has been cut out Dry fit your window in place. This is also a good time to practice placement as the bunk window will end up having the urethane on the window and you will set into hole for final attachment.
It is now time to begin the install clean the Bunk window with glass cleaner or rubbing alcohol emphasizing the areas where the urethane will be placed (blacked out area on back side of window). Clean the wall of Van around the opening same method.
Now using cotton daubers, you are going to apply primer to the wall of the van you do not need to put primer on the window. Since these bunk windows have such a small outside overlap, we like to tape off the wall of van leaving only a 5/8” gap from cut edge to tape. Then apply the primer to wall between the cut edge and tape. Reason for this is we do not want to go too far and have anything visible after installation. Wait about 10-15 mins for primer to set. You can now remove the tape you were masking the wall off with.
If you are now ready to install window, we will move on to the urethane application. If you are still little uncomfortable with making sure you are setting in exact location. You can once again dry fit window get it in its perfect spot then apply securing tape or painters’ tape as if you were taping window in place for final time hover make sure they are straight one in each corner top and bottom then one on each side, leaving tape on wall and window use a razor to slice tape. This will now give you six markers for lining up the window.
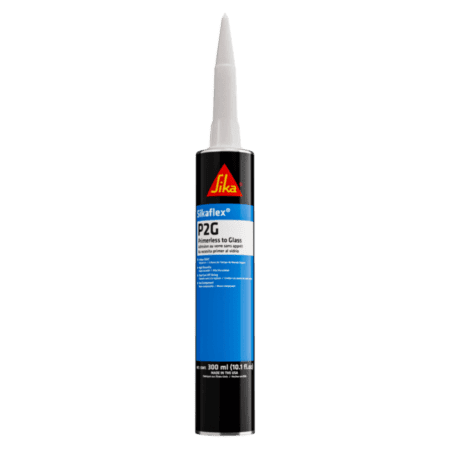
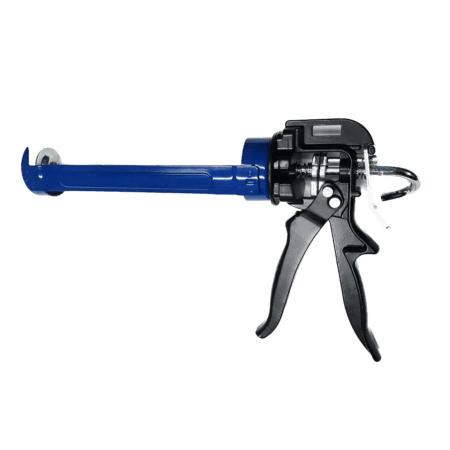
Let us move on to the urethane application you will cut your urethane tip straight across no V-notch you want it to be a tootsie roll size of urethane make sure you evenly distribute straight to the frit (Blacked out Glass around edge) – (back side of window) itself not onto the wall and right next to the frame of window.
The most important part of a urethane window installation is consistency in the bead of urethane. If you are happy with the bead your primer is set, you have removed the tape that was masking for the primer. Now you will place the window into the hole. If you have two people, its great one on the inside that can pull on frame and line up the other outside ensuring the window does not fall. Once you have the window in the hole and in the place, you want open hand to smack the window down. Goal with the window on a (Sprinter, Transit, ProMaster) is to have the glass about even with the outer body. You do not want to place small amount of urethane and have the glass flush on the wall while you may feel the aesthetic look is nicer when fluctuating temperatures shatter the glass will not be so appealing. You want to have about a ¼” gap between glass and wall which again will put you about flush with outer body. On Vans without inset window sections window will hover on the outside. (This is not different between a clamp ring window or urethane, clamp-ring will have foam that fills the gap giving a flusher look however urethane is a far superior attachment method).
Now that your window is set in place using Window securing tape, to hold the window in place. You will be able to drive your Van after 3 hrs. and remove the tape after 24hrs, best to wait 72hrs before washing vehicle. (Colder temperatures 50degrees and below double time)
There may be urethane then oozes into the interior of the van, using glass cleaner spray the urethane with a liberal amount then using a plastic putty knife smooth the urethane out like you spackling a wall to insure complete coverage of the hole and a nicer appearance.