")
")
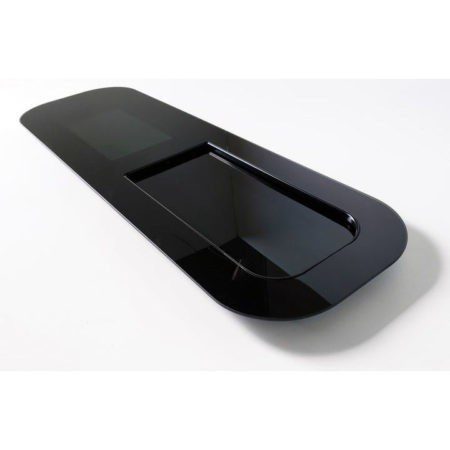
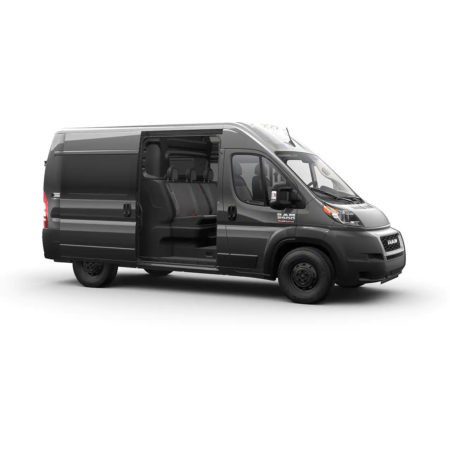
Our VWD DTSPCR023-INT 2019+ Mercedes Sprinter 144″ Half-Slider Window (Passenger Side Rear) from Nomadic Supply Company is designed with top-grade components and have been produced to present an elegant, sleek appearance for your van. VWD utilizes a minimalistic approach to the design process avoiding large bulky handles, un-sightly hardware, or excessive framing. The VWD DTSPCR023-INT has an interior screen for the sliding portion of the window.
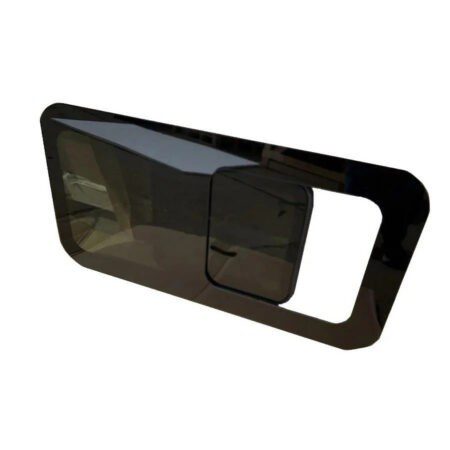
SCREEN – The screen for the VWD DTSPCR023-INT 2019+ Mercedes Sprinter 144″ Half-Slider Window (Passenger Side Rear) independently slides open and closed from the glass slider, easily allowing for screened or un-screened opening in just a few seconds with a simple slide of the screen. The screen features a black acrylic frame for added durability if knocked into by gear, children, animals, etc. Staying in the theme of durability and longevity we use aluminum screen mesh exclusively in our sliders we find that while not impervious the aluminum mesh offers higher resistance to fabric mesh regarding tears and fraying. Lastly, one common industry issue is noisy screens we have addressed this issue by lining out the channel holding the screen with rubber keeping the screen tight and quiet while driving.
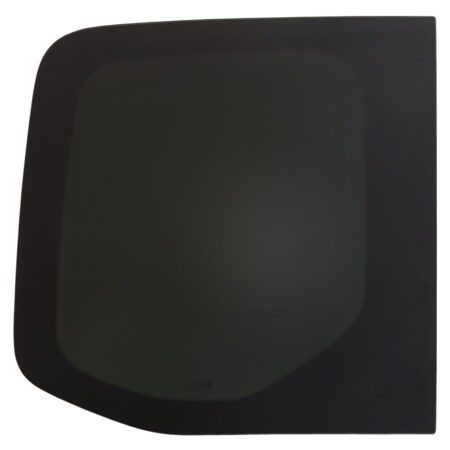
GLASS – VWD DTSPCR023-INT 2019+ Mercedes Sprinter 144″ Half-Slider Window (Passenger Side Rear) utilizes Pure Grey Solar Privacy Glass while Solar Privacy Glass is the standard for Van Rear Windows color or tint level of the glass will be on par with the 3rd party brands, we carry as well as OEM windows. The difference comes with the modern pure grey technology of the glass. Pure Grey Solar Privacy glass offers a more realistic vision through the glass from the interior of the van which gives a more elegant stylish and fresh look to the glass over your standard green base solar privacy glass. With a better look through the glass, you still get excellent thermal performance with a 15% UV filter rating.
SLIDER – The sliding portion of the VWD DTSPCR023-INT 144″ Mercedes Sprinter Half-Slider Window (Passenger Side Rear) has been oriented to provide the best ventilation value to the van. Most feature openings on the front side while a few will have the opening on the rear portion of the window. Our sliders have been manufactured with a tight seal for excellent weather resistance even in storm conditions. (If the window you receive you feel is too tight, working the window open and closed or adding a silicone spray can alleviate the tightness quickly) The glass sliding panel has a low-profile aluminum trim handle on the backside of the glass for opening and closing while maintaining a sleek design for improved aesthetics and easy operation.
SECURITY – While van windows may not be a would-be thieves’ go-to entry point for a Van. The security of the window cannot be overlooked. While many sliders that feature both sliding windows, as well as sliding screens, have adopted a simplistic low center hinge latch, we have found vulnerabilities in other types of designs during rougher driving conditions or high vibrations. This would allow for the window to be able to be slid open from the outside often without the knowledge of the van owner. We took the simple latch design and altered the form to allow the latch to go all the way down to the tracks of the window securing the screen and glass and ensuring that there will be no false openings of the latch.
VWD DTSPCR023-INT 144″ Mercedes Sprinter Half-Slider Window (Passenger Side Rear) Specifications:
- Part # DTSPCR023-INT
- Manufacturer: Van Windows Direct
- Manufacturer Country: Turkey (Europe)
- Manufacturer Warranty: 1 Year
- Glass Color = Solar Privacy Glass (Pure Grey Premium Glass)
- Glass UV Rating = 15% ( Lower the percentage the better)
- DTSPCR023-INT fits any 2019+ Mercedes-Benz Sprinter
| Part # | Window Position | Wheel Base |
| DTSPCR007-INT | Mercedes Sprinter Driver Side Forward | ALL |
| DTSPCR008-INT | Mercedes Sprinter Driver Side Middle | 170″/170″ EXT |
| DTSPCR009-INT | Mercedes Sprinter Driver Side Rear Quarter | 170″/170″ EXT |
| DTSPCR022-INT | Mercedes Sprinter Driver Side Rear Quarter | 144″ |
| DTSPCR025-INT | Mercedes Sprinter Driver Side Rear Cargo Door | ALL |
| DTSPCR010-INT | Mercedes Sprinter Passenger Side Sliding Door | ALL |
| DTSPCR011-INT | Mercedes Sprinter Passenger Side Middle | 170″/170″ EXT |
| DTSPCR012-INT | Mercedes Sprinter Passenger Side Rear Quarter | 170″/170″ EXT |
| DTSPCR023-INT | Mercedes Sprinter Passenger Side Rear Quarter | 144″ |
| DTSPCR024-INT | 2019+ Mercedes Sprinter Passenger Side Rear Cargo Door | ALL |
Installation Instructions:
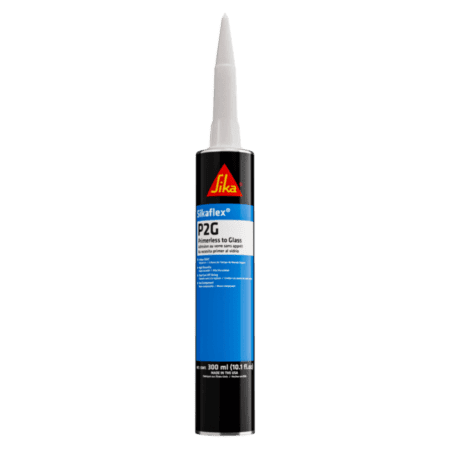
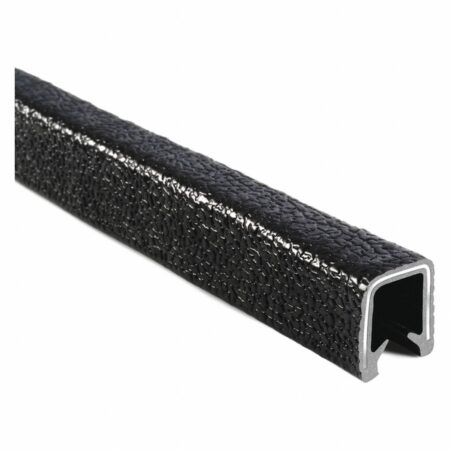
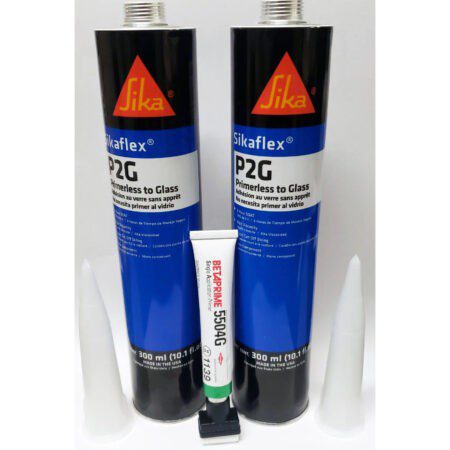
This window is installed with the SikaFlex P2G Urethane Automotive Window Adhesive & Primer Kit, you will need a primer base and we recommend Trim-Lok Edge Molding for the cut edge.
How will I install this window?
The window uses the OEM factory metal stamping on the van. On the interior of the van you will notice an area where the inner metal ends. Here is a photo to clarify. You will cut right along that edge all the way around your van may have multiple uprights you will cut those out straight with your opening.
REPLACING AN EXISTING OEM WINDOW:
If you are replacing an existing factory window that is urethane bonded, you may want to take it to a professional for removal and replacement. If doing it on your own, the best tool is a wire cutter Equalizer Window Cut-Out Set. Once you have the window cut out, you will need to cut (shave down) the original urethane down as flat as possible and clean as much away as you can; we recommend CRL Adhesive Cleaner, Acetone, Goo-Gone, and WD-40. After using any cleaning product, clean the wall with soap and water or rubbing alcohol.
ADDING WINDOW TO A VAN WITHOUT WINDOWS:
If you have the following tools, you can cut on the inside with no template or mirroring of the interior stamping to the outside. (Body Saw, Air Saw, One-Handed Reciprocating Saw)
Drill a hole with a bit large enough to accommodate the blade of your cutting tool. Drill within the single sheet metal section to be cut out, then work your knife down to the OEM stamp line. Follow the stamp line around the area to produce your window cut hole. (Can cut out any interior supports within the window sections).
**TIP – Cut sides and bottom first leaving the top cut for last, so the sheet metal does not start bending while cutting.
Once your cut is complete, and the sheet metal panel is removed, file any rough edges or high points to smooth the cut line. While most will trim and not see the raw edge, the smoother and straighter the cut, the better the trim will appear when it is time to place it. Once happy with the cut-out and filed down soft, you may want to prime the raw metal edge before installing Trim-Lok Edge Molding. While this is not necessary, its easy and offers additional peace of mind.
If you are using Trim-Lok Edge Molding, now will be the time to install it. While Trim-Lok Window Edge Molding is not necessary for window installation, it offers a better appearance on Van’s interior by covering the raw cut edge. If your interior walls surround the cut edge, then there is no reason to trim something that will hide behind a wall. When ordering trim, you’ll purchase from a bulk roll by the foot, and there is a drop-down box for proper sizing for your Van. Most vans will cover the inner and outer sheet metal edges with the trim. The trim on the outside will not affect the Window installation as the urethane bead will be taller than the thickness of the frame.
**TIP – There is often an adhesive foam material injected between the two sheet metal walls of your Van from the factory. If you are having a tough time getting the trim to cap both sheet metal edges cut the foam away from the cut edge till you can squeeze the metals together and cap with trim molding.
**TIP – Dry fitting the Window before urethane bonding can help familiarize yourself with placement. Also, you can place securing tape/masking/painters’ tape in corners and side middle on to glass, then onto body cut tape, leaving on both window and van body as added line-up markers for easier placement.
URETHANE BONDING OF WINDOW:
You will brush the urethane primer onto the outer body of your Van. When applying primer, ideally, you want to use it close to the opening, allowing a 1/2″ gap from the trim or hole when possible. This is because urethane spreads when you set the window and is less likely to have urethane seeping out from the glass edge outside the Van when closer to the cut hole. One line of primer is needed and only on the Van wall. Primer is unnecessary for the glass as the urethanes are designed to bond to the glass. After you have painted your primer line around your cut hole, allow the primer to dry for about 10 minutes.
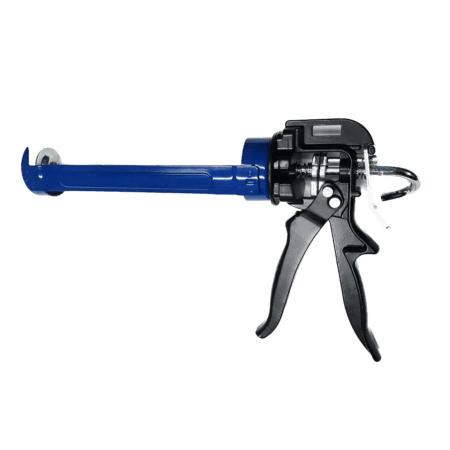
When using Automotive Urethane, a regular everyday caulking gun will not work. We recommend no less than a 12:1 Thrust Ratio (Commercial/Professional Grade) or above.
If you order the urethane from us, the tip will have an embossed cutline showing where to cut across the information and a v-notch; this will be where you will want to miss the news for your perfect-sized urethane bead. When you apply the urethane to the Van, the V will trail your application path, so you end up with a pyramid-looking dot.
We recommend starting a few inches down from the top rear corner of the window; that way, you can avoid having a joint from one tube to the next on the top or front of the window. If it happens, it will not be a catastrophe; keeping the top and front beads in one continuous bead reduces the risk of a leak. A larger Window (Most side OEM fit window) will require a second tube of urethane when one bead end starts, the next bead about a 1/2″ into the already applied bead (smooth together with a plastic putty knife/wood stick, flat screwdriver, etc…) Spraying a liberal amount of glass cleaner onto the tool will help keep the urethane from sticking to the device and clumping.
**TIP – When applying urethane bead, consistency is key to an excellent installation. Thicker and thinner spots can lead to leakage.
**TIP – Filling a bucket with 6″ to 8″ of hot tap water, you can set urethane tubes in the water bucket (sealed side down). This will warm the urethane making it more pliable and easier to use.
INSTALLING WINDOW TO URETHANE:
Having two people for window placement is always nice one holds the front bottom corner, the other the rear bottom corner. OEM fit windows will have a 1/4″ gap from the body line to the glass. Get the bottom edge lined up, holding the glass back away from the wall on top at a slight angle / once you have your gap lined up at the bottom and your front and rear edges are in line where you want, tilt the window up. Press the window into the urethane; you do not need to push too hard, as the urethane has firm adhesion and will grab onto the window quickly. Keep a hand pressing on the window to keep position; if all is good, open your hand and smack the glass down, following the path of your urethane bead. The goal of modern vans with insert areas for windows will be to get the drink even with the outer body of the Van, the body above and below the window section, so it is a fluid transition from sheet metal to glass to sheet metal again.
Once the window is in the desired location, using window securing tape, tape each corner with 3-4 strips to keep the glass in place. If you plan to drive the Van within the first 24hrs, you can also tape the edge all around to keep urethane beads clean from contaminants while traveling.
Recommendations
-
- 3-6 Hours of set time before driving (Keep all windows closed and A/C using recirculate during the first 24hrs)
- 3 Days minimum before washing vehicle (Some car wash soaps have alcohol that can deteriorate some of the urethane seals)