")
-4")
-2")
-3")
-5")
-6")
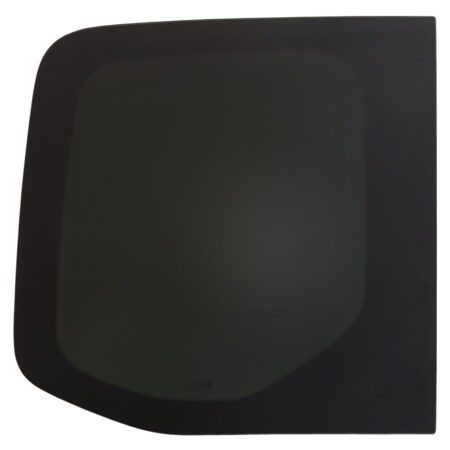
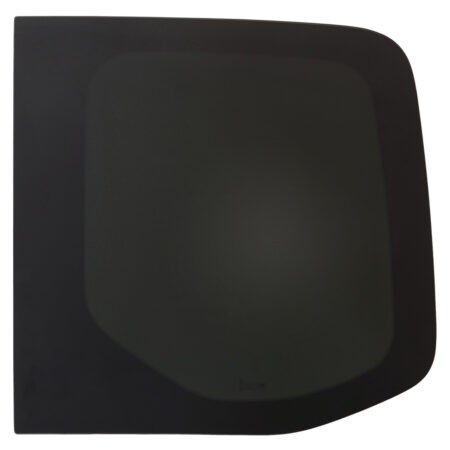
AM Auto PB07-R1ML-HSS P Ram Promaster Sliding Window (159″ Passenger Side) from Nomadic Supply Company features a solar privacy glass, designed to fit OEM body stampings and utilize the factory cut-hole. The AM Auto PB07-R1ML-HSS P Ram Promaster Sliding Window (159″ Passenger Side) glass has excellent UV filtration at only 17% allowable UV’s.
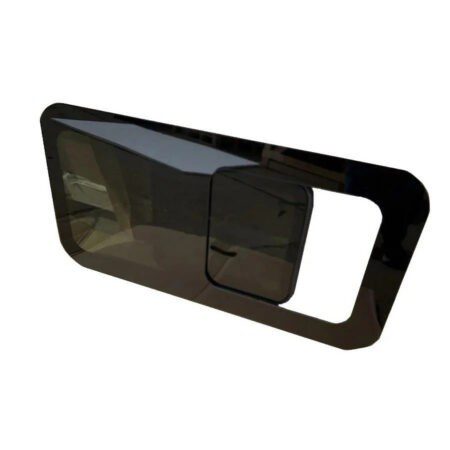
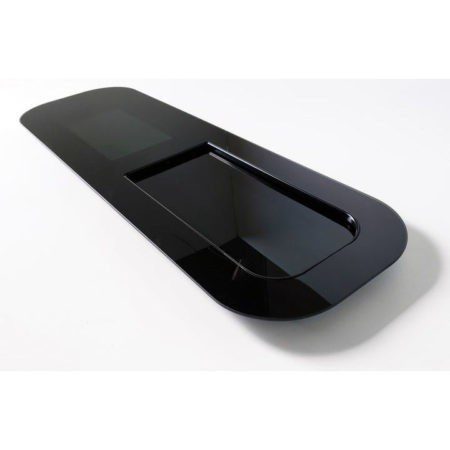
AM Auto PB07-R1ML-HSS P Ram Promaster Sliding Window (159″ Passenger Side) are manufactured from the latest and most sophisticated design processes ensure the window is produced to the highest quality standards. The AMA Half slider latches closed for security and allows for a large ventilation opening.
Simply slide glass and screen independently for a screened or non-screened opening. The fabric screen mesh is housed in an aluminum frame with upper Y springs that allow the screen to be removed by pushing the screen up into the top channel and popping the bottom of the frame out of the lower channel. To secure the window simply flip up a small paddle latch at the lower middle portion of the window. This will have the latch in a vertical position blocking the screen and glass from being able to slide open.
AM Auto PB07-R1ML-HSS P Ram Promaster Sliding Window (159″ Passenger Side) from Nomadic Supply Company comes with a 6-month Limited Manufacturer Warranty.
AMA (AM Auto) specializes in supplying toughened safety glass, aluminum-framed bonded slider windows. AMA vehicle windows have been accredited by global quality certification including China Compulsory Certification (3C), the US DOT, the European ECE, and Japan JIS. AMA vehicle windows are manufactured in China by one of the largest glass manufacturers in the world.
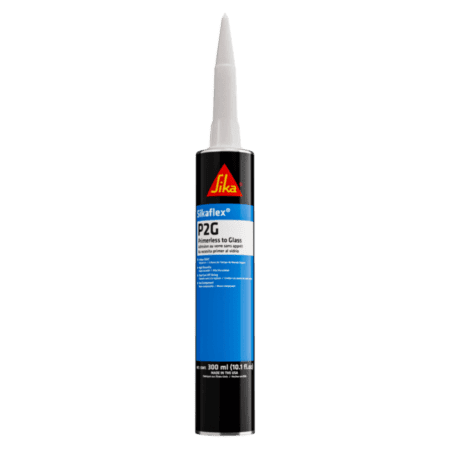
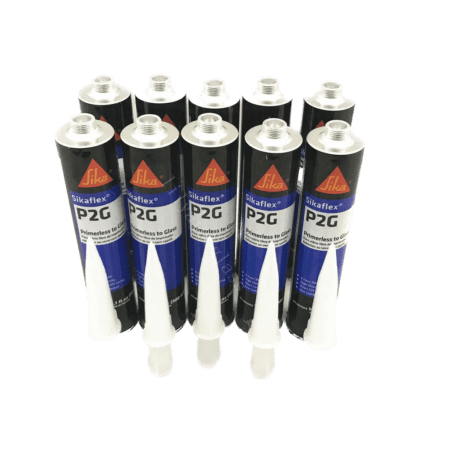
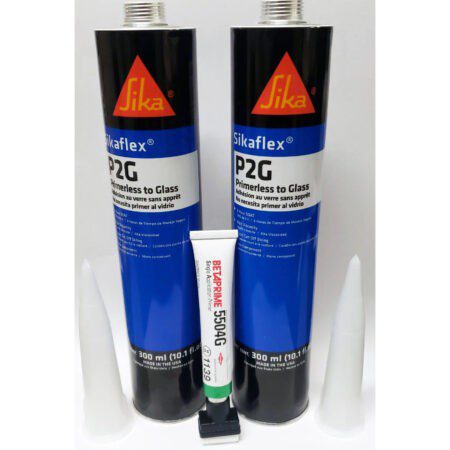
AM Auto PB07-R1ML-HSS P Ram Promaster Sliding Window (136″-159″ Passenger Side) are bonded (glue-in) windows, which require the SikaFlex P2G Urethane Automotive Window Adhesive and Primer Kit for installation, as well as Trim-Lok Flexible Edge Trim for Camper Van Windows (1610SB3-343).
AMA PB07-L1ML-HSS P Ram Promaster Sliding Door Window Specifications:
- Part# PB07-R1ML-HSS P
- Manufacturer: AMA (AM Auto)
- Manufacturer Country: China
- Manufacturer Warranty: 6 Months
- Glass Color = Solar Privacy Glass
- Glass UV Rating = 17%
- Half-Slider Opening Measurements: 15-1/4″ x 18-1/8″
- Fits 136” and 159” and 159” Extended Wheelbase
| Part # | Window Position | Wheelbase | Window Type |
| AM Auto PB07-B1ML P | Driver Side Forward/ Passenger Side Sliding Door | 136/159/159 EXT | Solid |
| AM Auto PB07-L1ML-HSS P | Driver Side Forward/Sliding Door | 136/159/159 EXT | Slider |
| AM Auto PB07-L1S-HS P | Driver Side Forward/Sliding Door | 118 | Screenless-Slider |
| AM Auto PB07-B1S P | Driver Side Forward/Sliding Door | 118 | Solid |
| AM Auto PB07-L2L-3 P | Driver Side Middle | 159/159 EXT | Solid |
| AM Auto PB07-LS3L P | Driver Side Middle (Behind Sliding Door) | 159/159 EXT | Solid |
| AM Auto PB07-L3XL-HSS P | Driver Side Rear Quarter | 159 EXT | Slider |
| AM Auto PB07-L2M-HSS P | Driver Side Rear Quarter | 136 | Slider |
| AM Auto PB07-LB-2 P | Driver Side Rear Cargo Door | ALL | Solid |
| AM Auto PB07-R1ML-HSS P | Passenger Side Sliding Door | 136/159/159 EXT | Slider |
| AM Auto PB07-R1S-HS P | Passenger Side Sliding Door | 118 | Screenless-Slider |
| AM Auto PB07-B1S P | Passenger Side Sliding Door | 118 | Solid |
| AM Auto PB07-RS2L P | Passenger Side Middle | 159/159 EXT | Solid |
| AM Auto PB07-RS3L P | Passenger Side Rear Quarter | 159 | Solid |
| AM Auto PB07-RS3XL-HSS P | Passenger Side Rear Quarter | 159 EXT | Slider |
| AM Auto PB07-RS2M-HSS P | Passenger Side Rear Quarter | 136 | Slider |
| AM Auto PB07-RB-2 P | Passenger Side Rear Cargo Door | ALL | Solid |
Nomadic Supply Company AM Auto Mercedes-Sprinter-Window Brochure
Camper Van Window Warranty and Defect Policy
Installation Instructions:
This window is installed with the SikaFlex P2G Urethane Automotive Window Adhesive & Primer Kit, you will need a primer base and we recommend Trim-Lok Edge Molding for the cut edge.
How will I install this window?
The window uses the OEM factory metal stamping on the van. On the interior of the van you will notice an area where the inner metal ends. Here is a photo to clarify. You will cut right along that edge all the way around your van may have multiple uprights you will cut those out straight with your opening.
REPLACING AN EXISTING OEM WINDOW:
If you are replacing an existing factory window that is urethane bonded, you may want to take it to a professional for removal and replacement. If doing it on your own, the best tool is a wire cutter Equalizer Window Cut-Out Set. Once you have the window cut out, you will need to cut (shave down) the original urethane down as flat as possible and clean as much away as you can; we recommend CRL Adhesive Cleaner, Acetone, Goo-Gone, and WD-40. After using any cleaning product, clean the wall with soap and water or rubbing alcohol.
ADDING WINDOW TO A VAN WITHOUT WINDOWS:
If you have the following tools, you can cut on the inside with no template or mirroring of the interior stamping to the outside. (Body Saw, Air Saw, One-Handed Reciprocating Saw)
Drill a hole with a bit large enough to accommodate the blade of your cutting tool. Drill within the single sheet metal section to be cut out, then work your knife down to the OEM stamp line. Follow the stamp line around the area to produce your window cut hole. (Can cut out any interior supports within the window sections).
**TIP – Cut sides and bottom first leaving the top cut for last, so the sheet metal does not start bending while cutting.
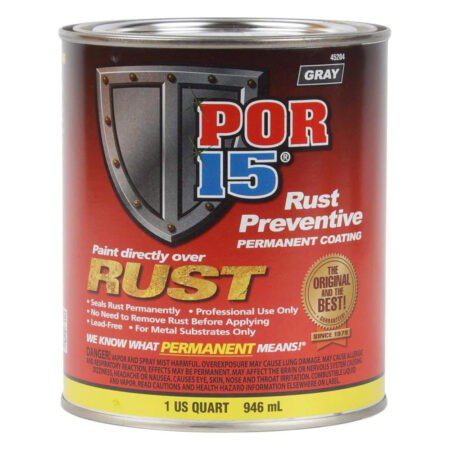
Once your cut is complete, and the sheet metal panel is removed, file any rough edges or high points to smooth the cut line. While most will trim and not see the raw edge, the smoother and straighter the cut, the better the trim will appear when it is time to place it. Once happy with the cut-out and filed down soft, you may want to prime the raw metal edge before installing Trim-Lok Edge Molding. While this is not necessary, its easy and offers additional peace of mind.
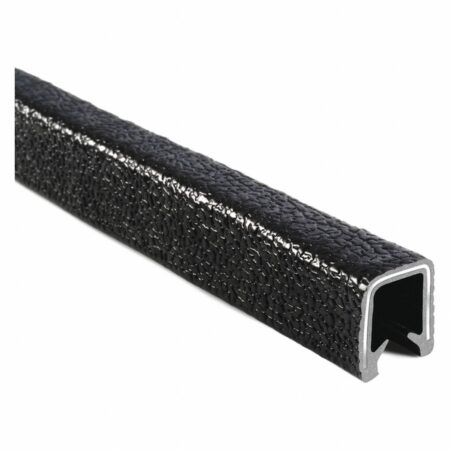
If you are using Trim-Lok Edge Molding, now will be the time to install it. While Trim-Lok Window Edge Molding is not necessary for window installation, it offers a better appearance on Van’s interior by covering the raw cut edge. If your interior walls surround the cut edge, then there is no reason to trim something that will hide behind a wall. When ordering trim, you’ll purchase from a bulk roll by the foot, and there is a drop-down box for proper sizing for your Van. Most vans will cover the inner and outer sheet metal edges with the trim. The trim on the outside will not affect the Window installation as the urethane bead will be taller than the thickness of the frame.
**TIP – There is often an adhesive foam material injected between the two sheet metal walls of your Van from the factory. If you are having a tough time getting the trim to cap both sheet metal edges cut the foam away from the cut edge till you can squeeze the metals together and cap with trim molding.
**TIP – Dry fitting the Window before urethane bonding can help familiarize yourself with placement. Also, you can place securing tape/masking/painters’ tape in corners and side middle on to glass, then onto body cut tape, leaving on both window and van body as added line-up markers for easier placement.
URETHANE BONDING OF WINDOW:
You will brush the urethane primer onto the outer body of your Van. When applying primer, ideally, you want to use it close to the opening, allowing a 1/2″ gap from the trim or hole when possible. This is because urethane spreads when you set the window and is less likely to have urethane seeping out from the glass edge outside the Van when closer to the cut hole. One line of primer is needed and only on the Van wall. Primer is unnecessary for the glass as the urethanes are designed to bond to the glass. After you have painted your primer line around your cut hole, allow the primer to dry for about 10 minutes.
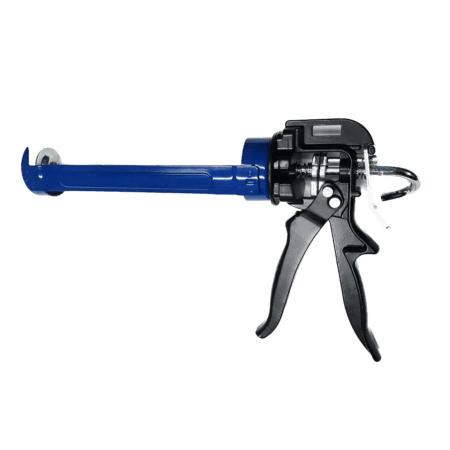
When using Automotive Urethane, a regular everyday caulking gun will not work. We recommend no less than a 12:1 Thrust Ratio (Commercial/Professional Grade) or above.
If you order the urethane from us, the tip will have an embossed cutline showing where to cut across the information and a v-notch; this will be where you will want to miss the news for your perfect-sized urethane bead. When you apply the urethane to the Van, the V will trail your application path, so you end up with a pyramid-looking dot.
We recommend starting a few inches down from the top rear corner of the window; that way, you can avoid having a joint from one tube to the next on the top or front of the window. If it happens, it will not be a catastrophe; keeping the top and front beads in one continuous bead reduces the risk of a leak. A larger Window (Most side OEM fit window) will require a second tube of urethane when one bead end starts, the next bead about a 1/2″ into the already applied bead (smooth together with a plastic putty knife/wood stick, flat screwdriver, etc…) Spraying a liberal amount of glass cleaner onto the tool will help keep the urethane from sticking to the device and clumping.
**TIP – When applying urethane bead, consistency is key to an excellent installation. Thicker and thinner spots can lead to leakage.
**TIP – Filling a bucket with 6″ to 8″ of hot tap water, you can set urethane tubes in the water bucket (sealed side down). This will warm the urethane making it more pliable and easier to use.
INSTALLING WINDOW TO URETHANE:
Having two people for window placement is always nice one holds the front bottom corner, the other the rear bottom corner. OEM fit windows will have a 1/4″ gap from the body line to the glass. Get the bottom edge lined up, holding the glass back away from the wall on top at a slight angle / once you have your gap lined up at the bottom and your front and rear edges are in line where you want, tilt the window up. Press the window into the urethane; you do not need to push too hard, as the urethane has firm adhesion and will grab onto the window quickly. Keep a hand pressing on the window to keep position; if all is good, open your hand and smack the glass down, following the path of your urethane bead. The goal of modern vans with insert areas for windows will be to get the drink even with the outer body of the Van, the body above and below the window section, so it is a fluid transition from sheet metal to glass to sheet metal again.
Once the window is in the desired location, using window securing tape, tape each corner with 3-4 strips to keep the glass in place. If you plan to drive the Van within the first 24hrs, you can also tape the edge all around to keep urethane beads clean from contaminants while traveling.
Recommendations
-
- 3-6 Hours of set time before driving (Keep all windows closed and A/C using recirculate during the first 24hrs)
- 3 Days minimum before washing vehicle (Some car wash soaps have alcohol that can deteriorate some of the urethane seals)